【Photoshop】文字を円弧にする方法【やりすぎ注意】
Creative21
NexOut


Photoshopでカンバスカラーを変更したい。
こういった疑問に答えるよ!

やぁ!みんな!元気?
デザイナーの@岸岡直哉です。
Youtube
目次
Photoshopでカンバスカラーを変更する流れはこんな感じ。
順番に見て行こう!
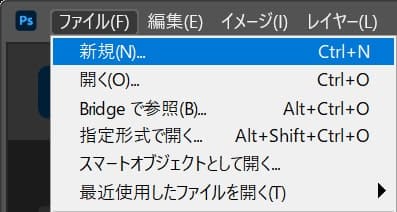
メニューバーの「ファイル」→「新規」を選択!
新規ドキュメントのショートカット
新規ドキュメントのショートカットはこんな感じ。
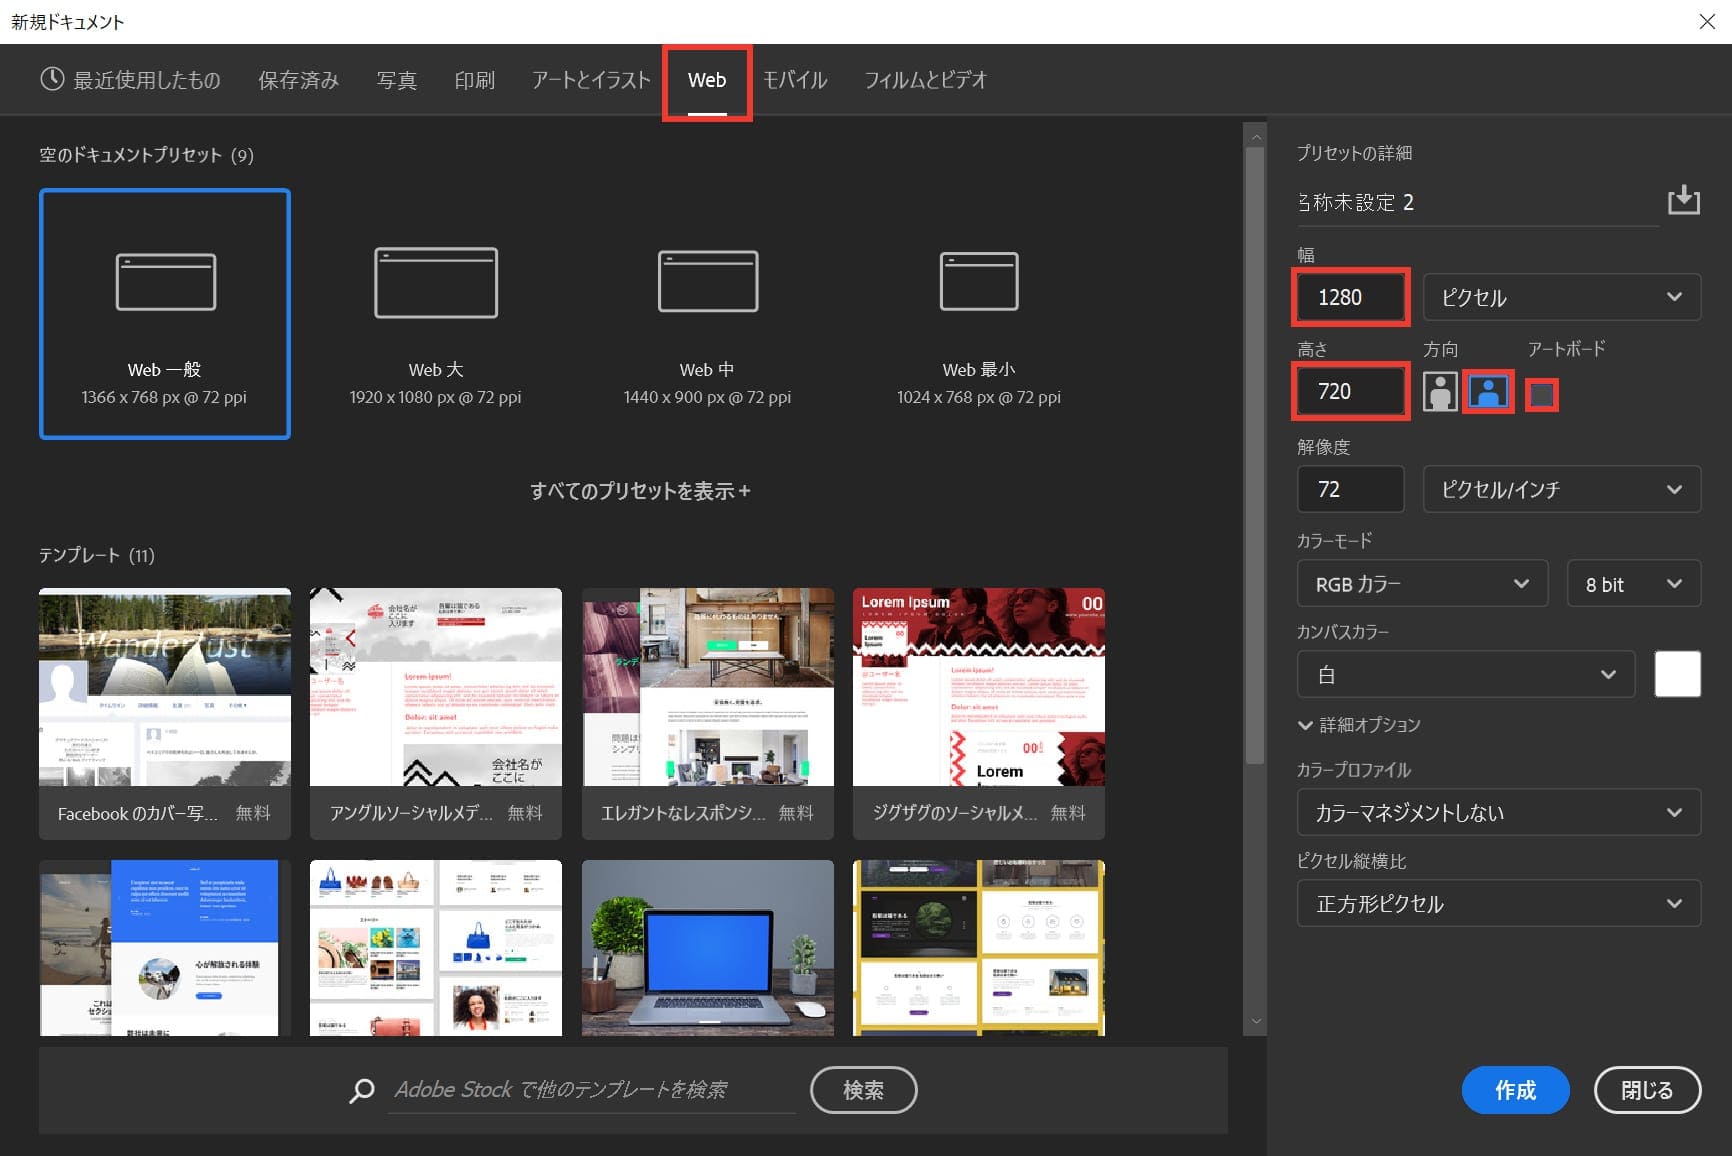
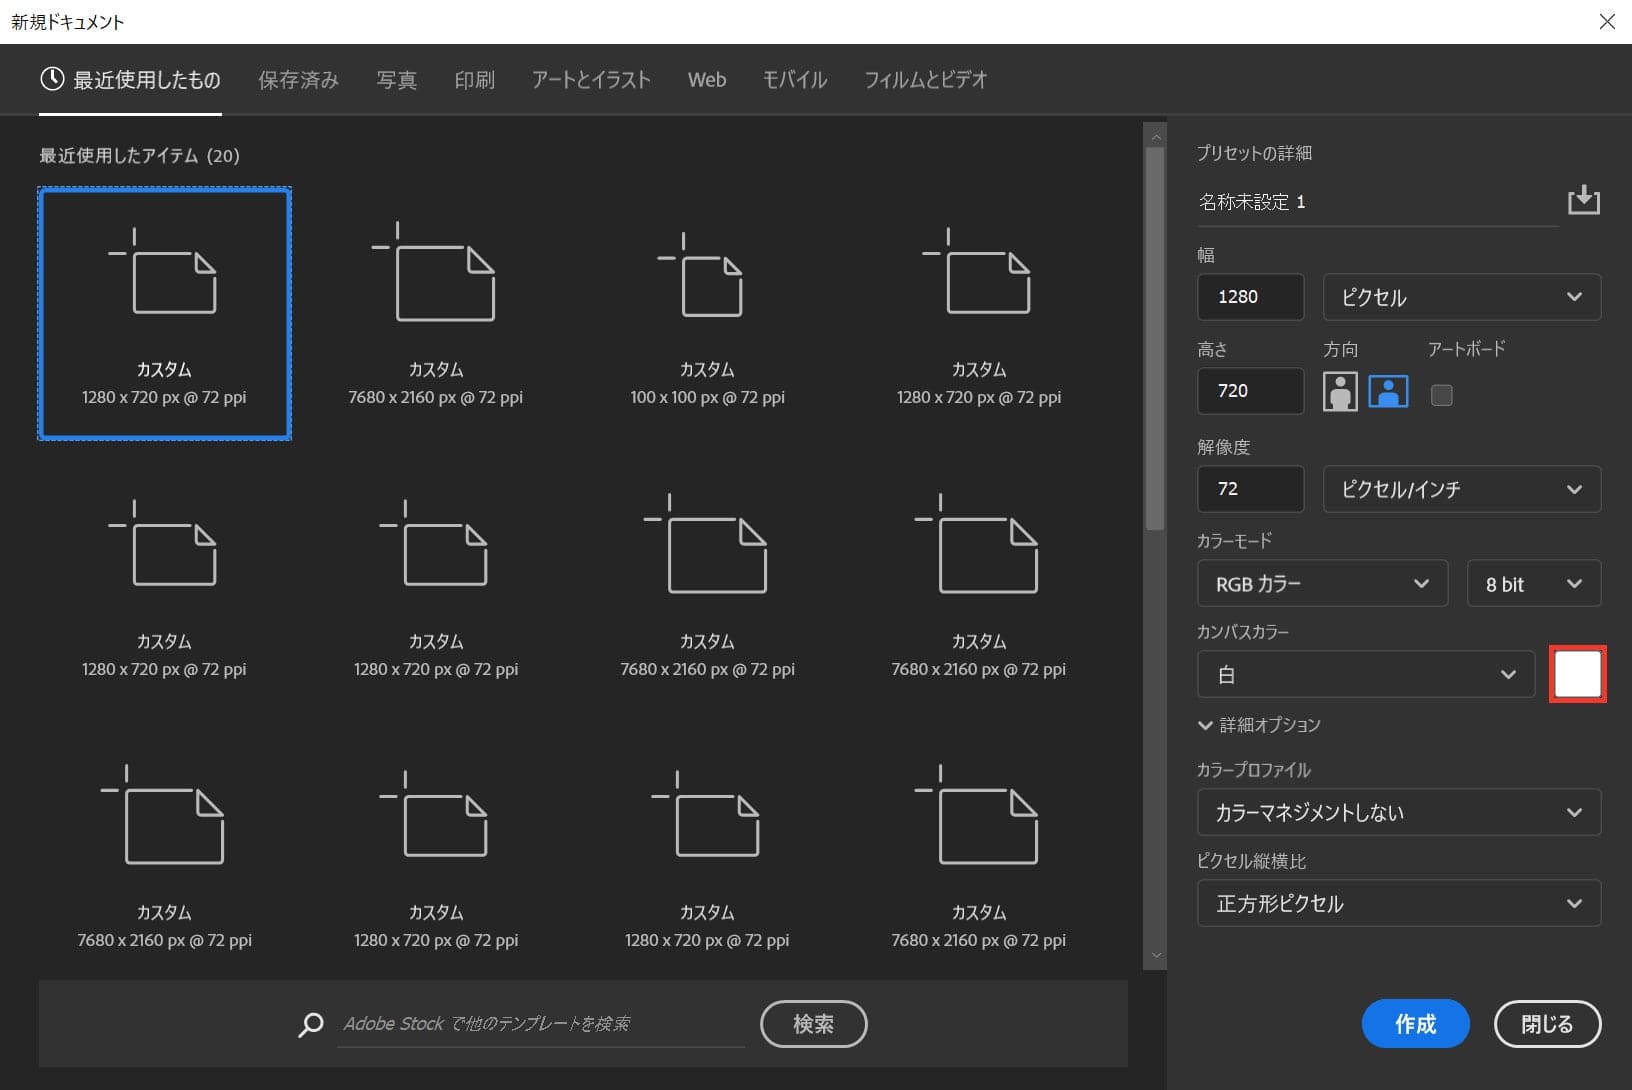
今回はWebを選択して、サイズを幅1280px、高さ720px、方向を横、アートボードのチェックを外そう!
カンバスカラーを選択!
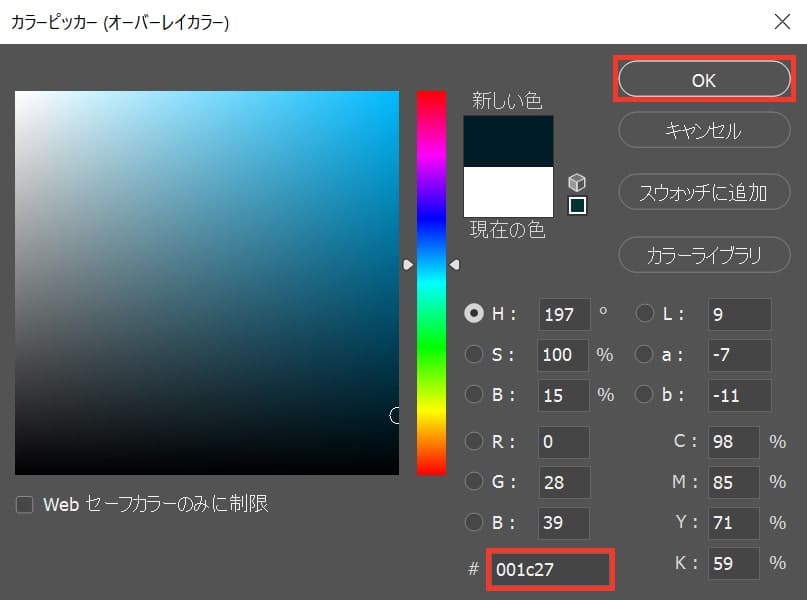
好きな色を選択、ここでは「#001c27」としてOK!
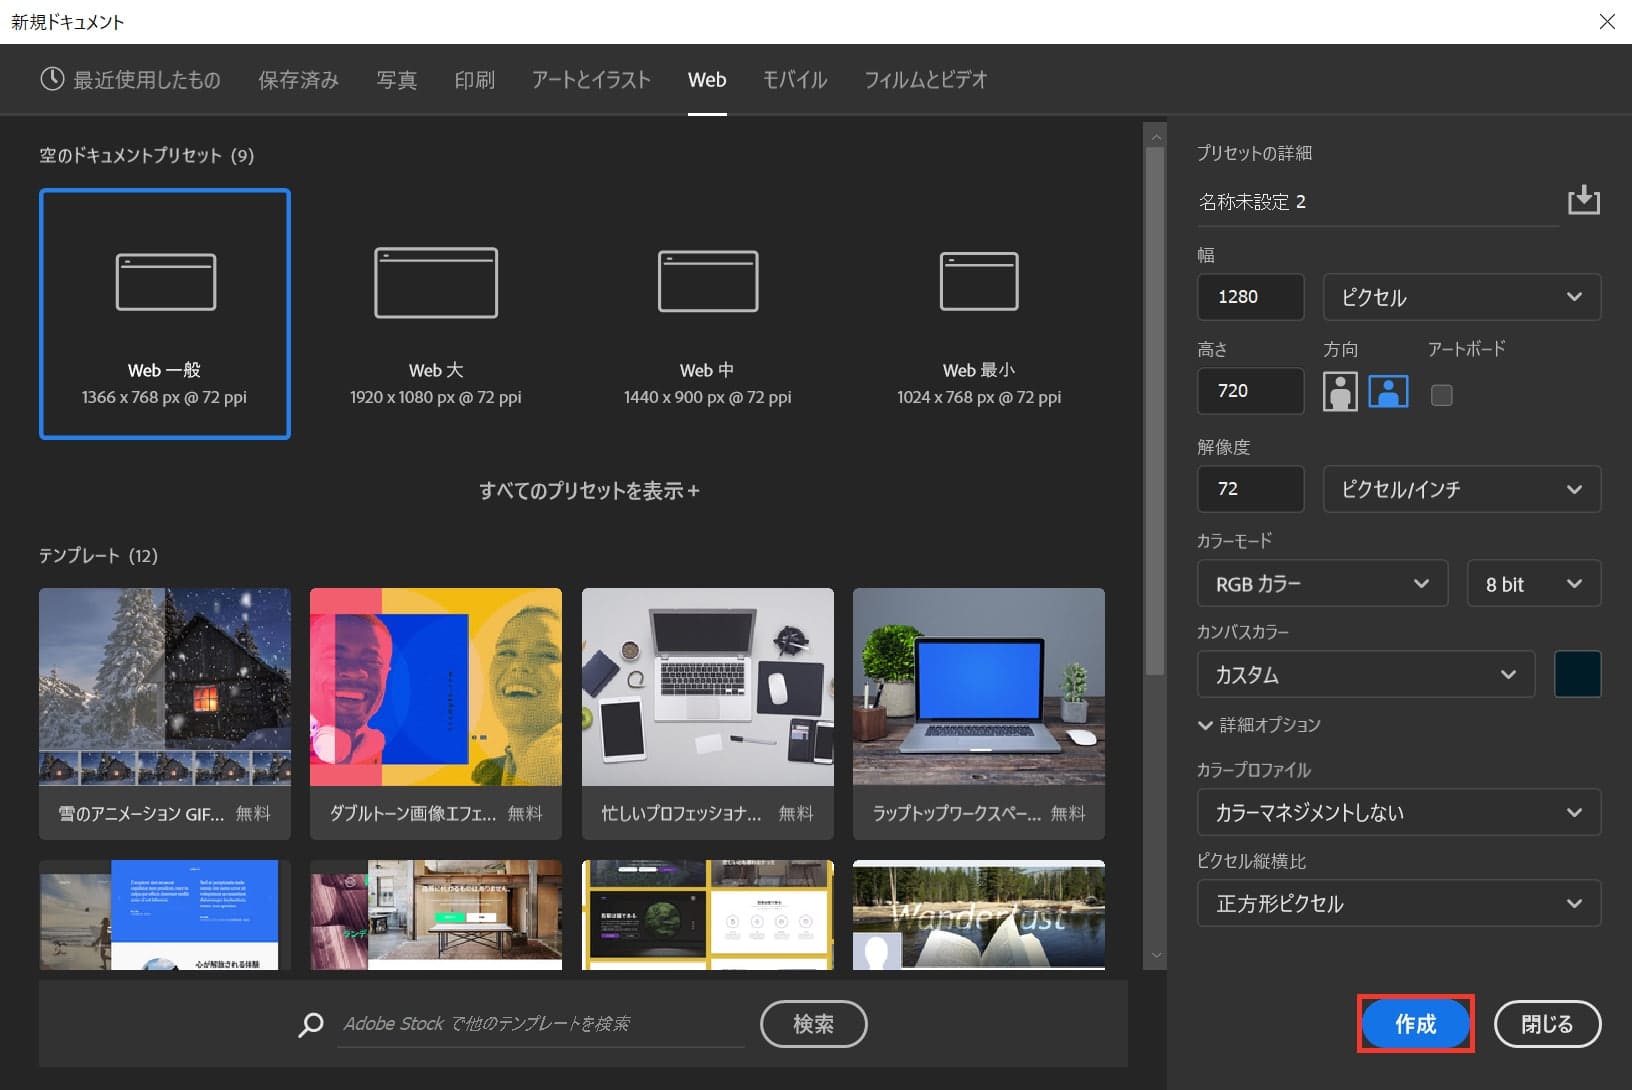
作成!

これでドキュメントを作ることができたね!
続いてカンバスカラーを変更するよ!
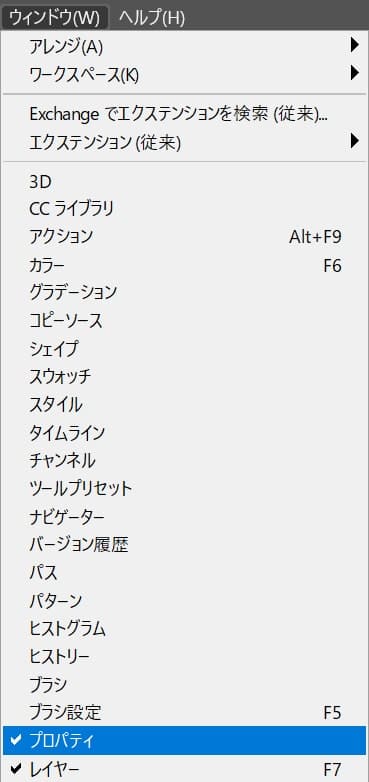
メニューバーの「ウィンドウ」から「プロパティ」を選択!
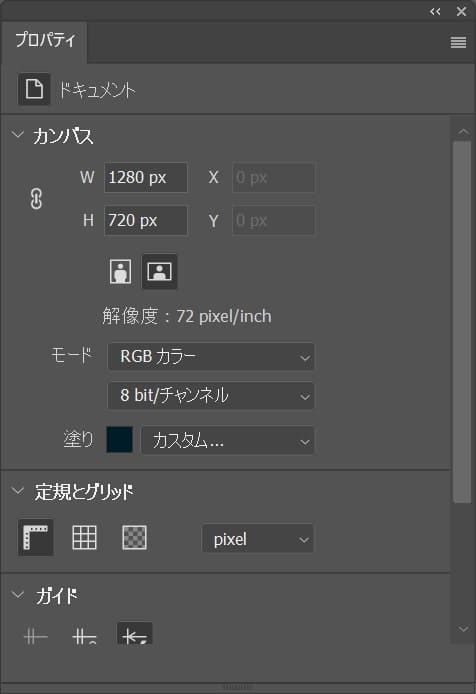
プロパティが表示されたね!
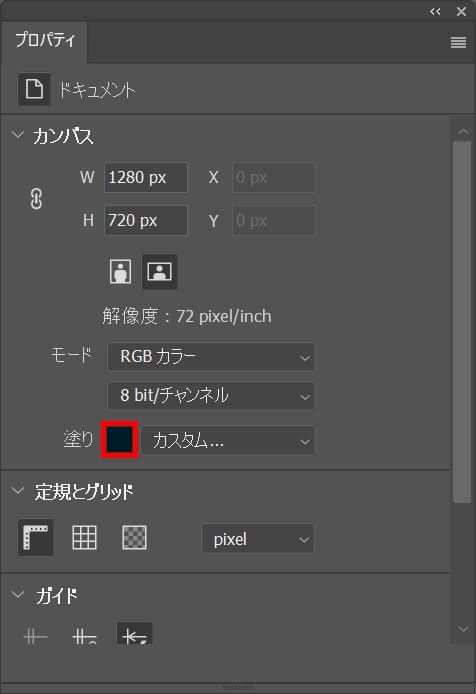
「塗り」をクリック!
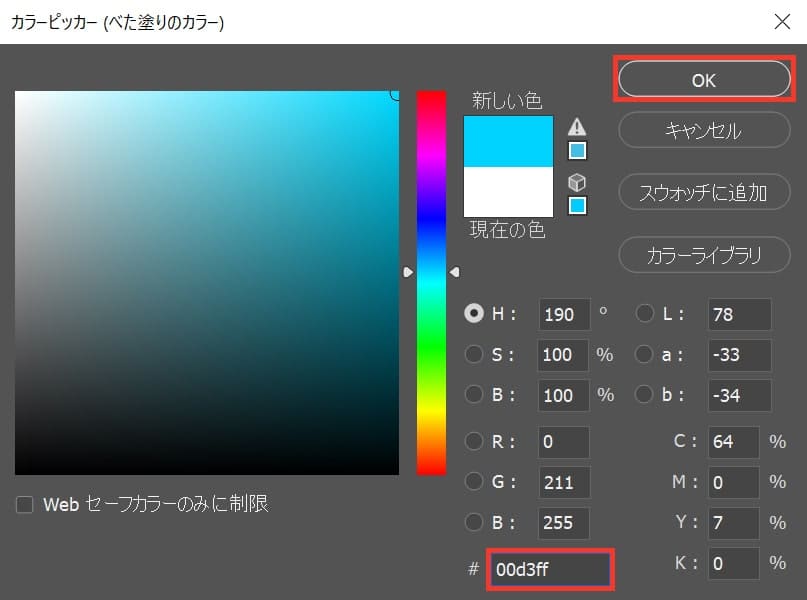
カラーピッカーが表示されるので、ここでは「00d3ff」としてOK!

カンバスカラーを変更することができたね!
無料LINE登録で『知らないと損するPhotoshopショートカット表』プレゼント!
※本キャンペーンは予告なく変更または終了する場合がございます