【Photoshop】黒で塗りつぶしする方法【新人デザイナー向け】
Creative21
NexOut


Photoshopで画像を反転する方法が分からない。
画像を反転するショートカットが知りたい。
こういった疑問に答えるよ!

やぁ!みんな!元気?
デザイナーの@岸岡直哉です。
Youtube
目次
Photoshopで画像を反転するやり方はこんな感じ。
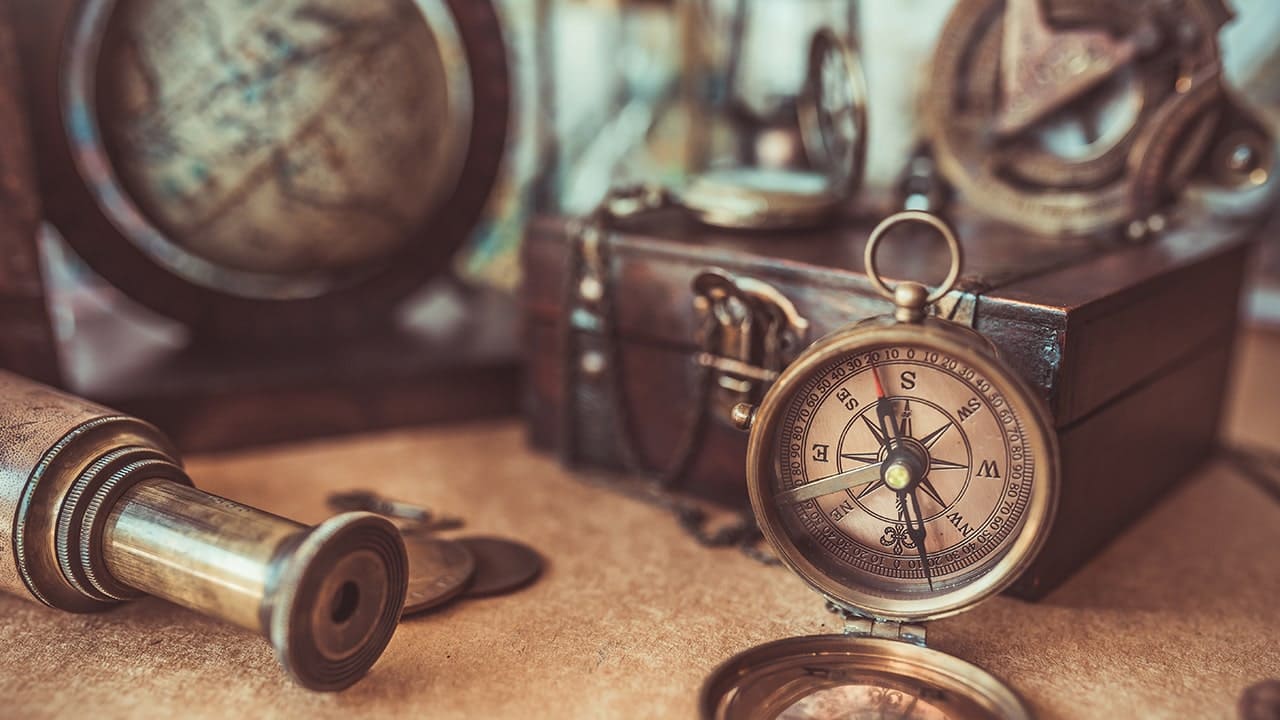
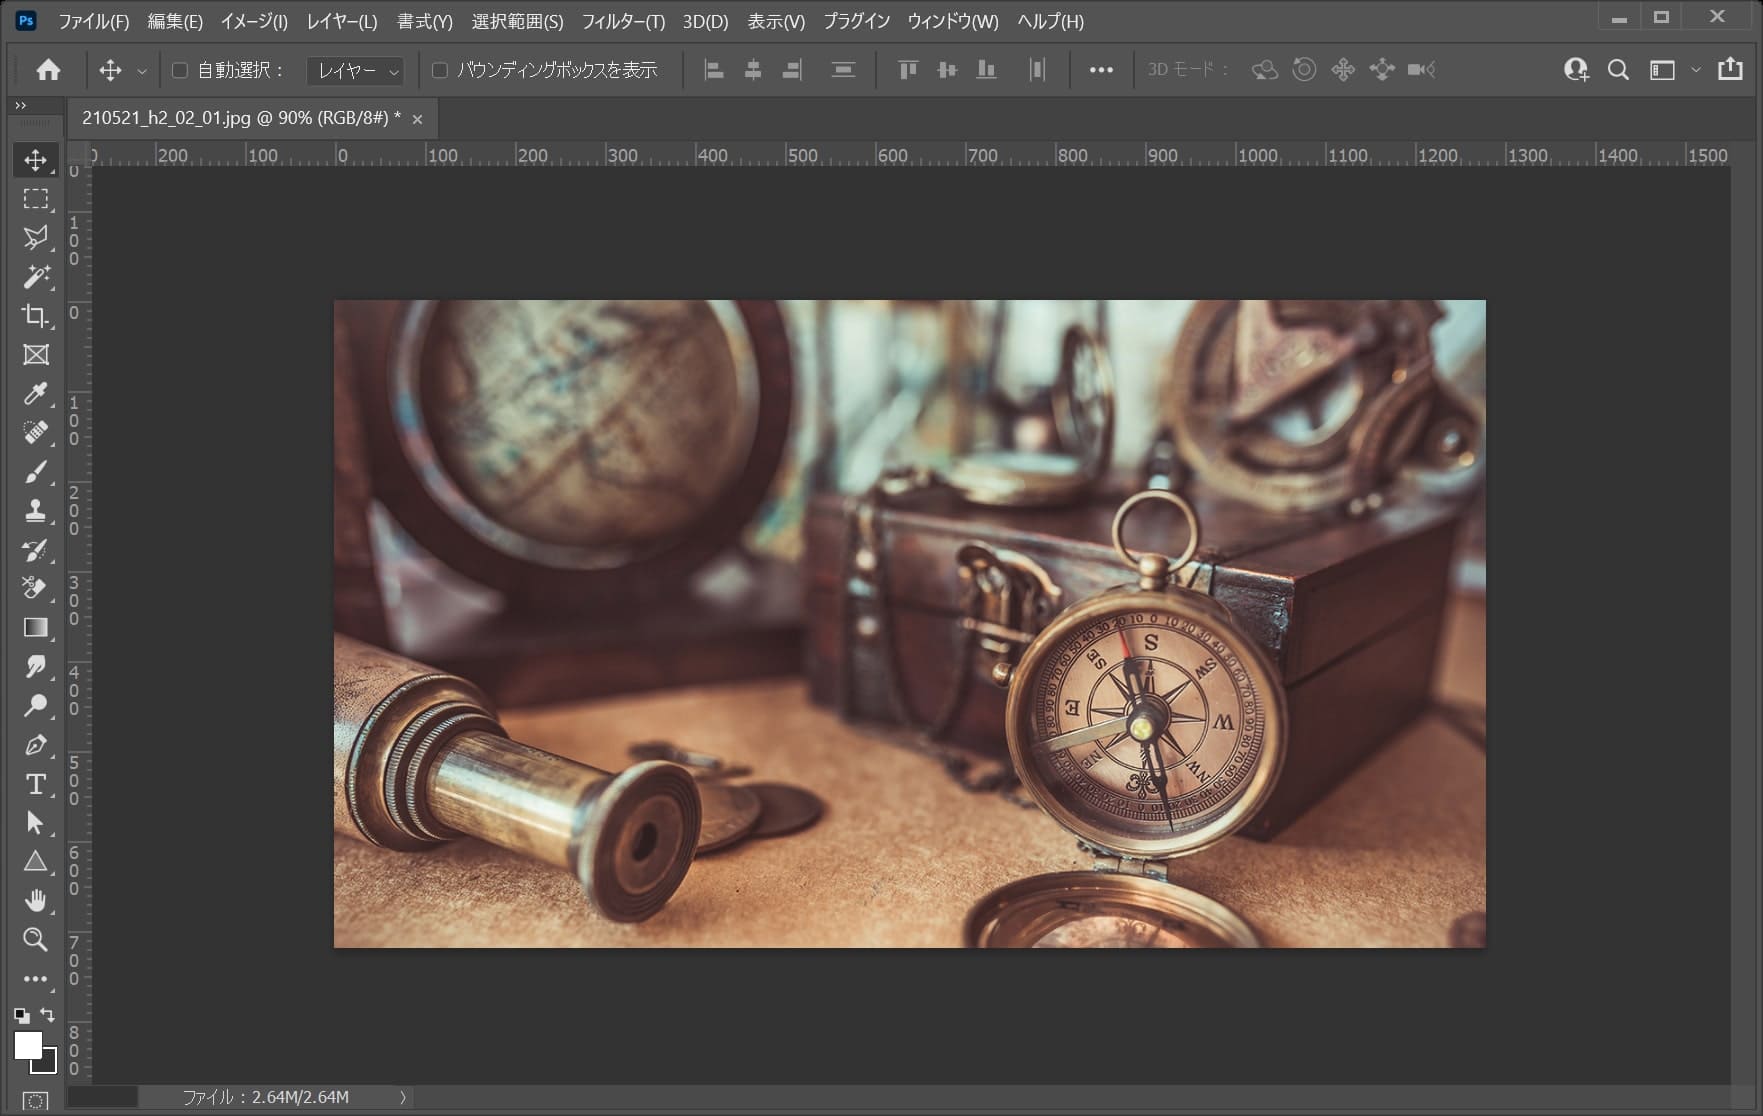
今回はこの画像を使って進めていくよ、画像は何でもいいので用意しておいてね!
画像の開き方が分からない人は下の記事を参考にしてみてね!
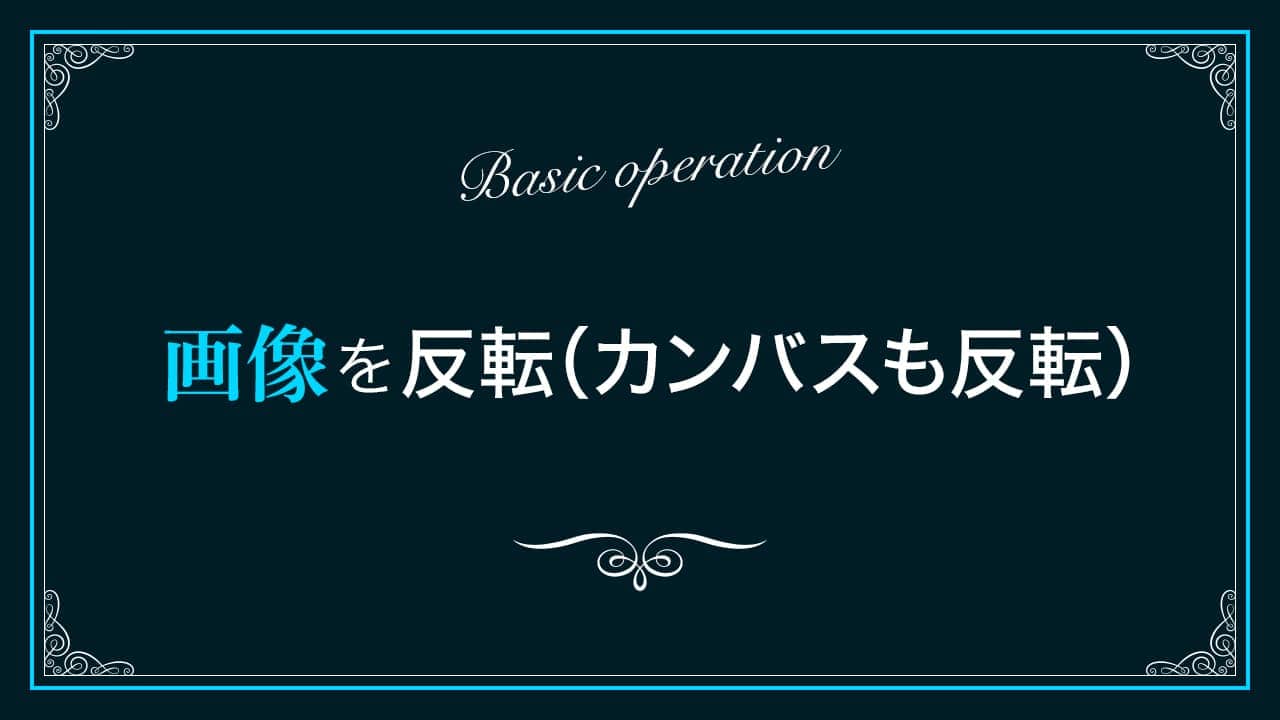
Photoshopで画像を反転(カンバスも反転)する流れはこんな感じ。
順番に見て行こう!
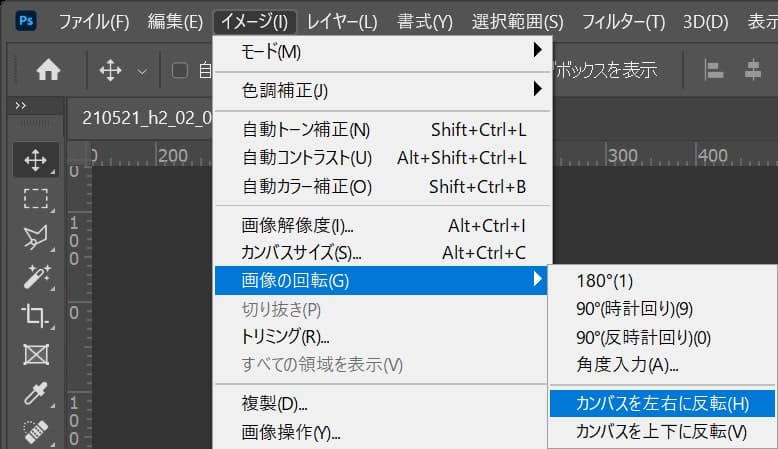
メニューバーの「イメージ」から「画像の回転」、「カンバスを左右に反転」を選択!
これで反転完了!
この反転方法はカンバスも一緒に反転するよ!
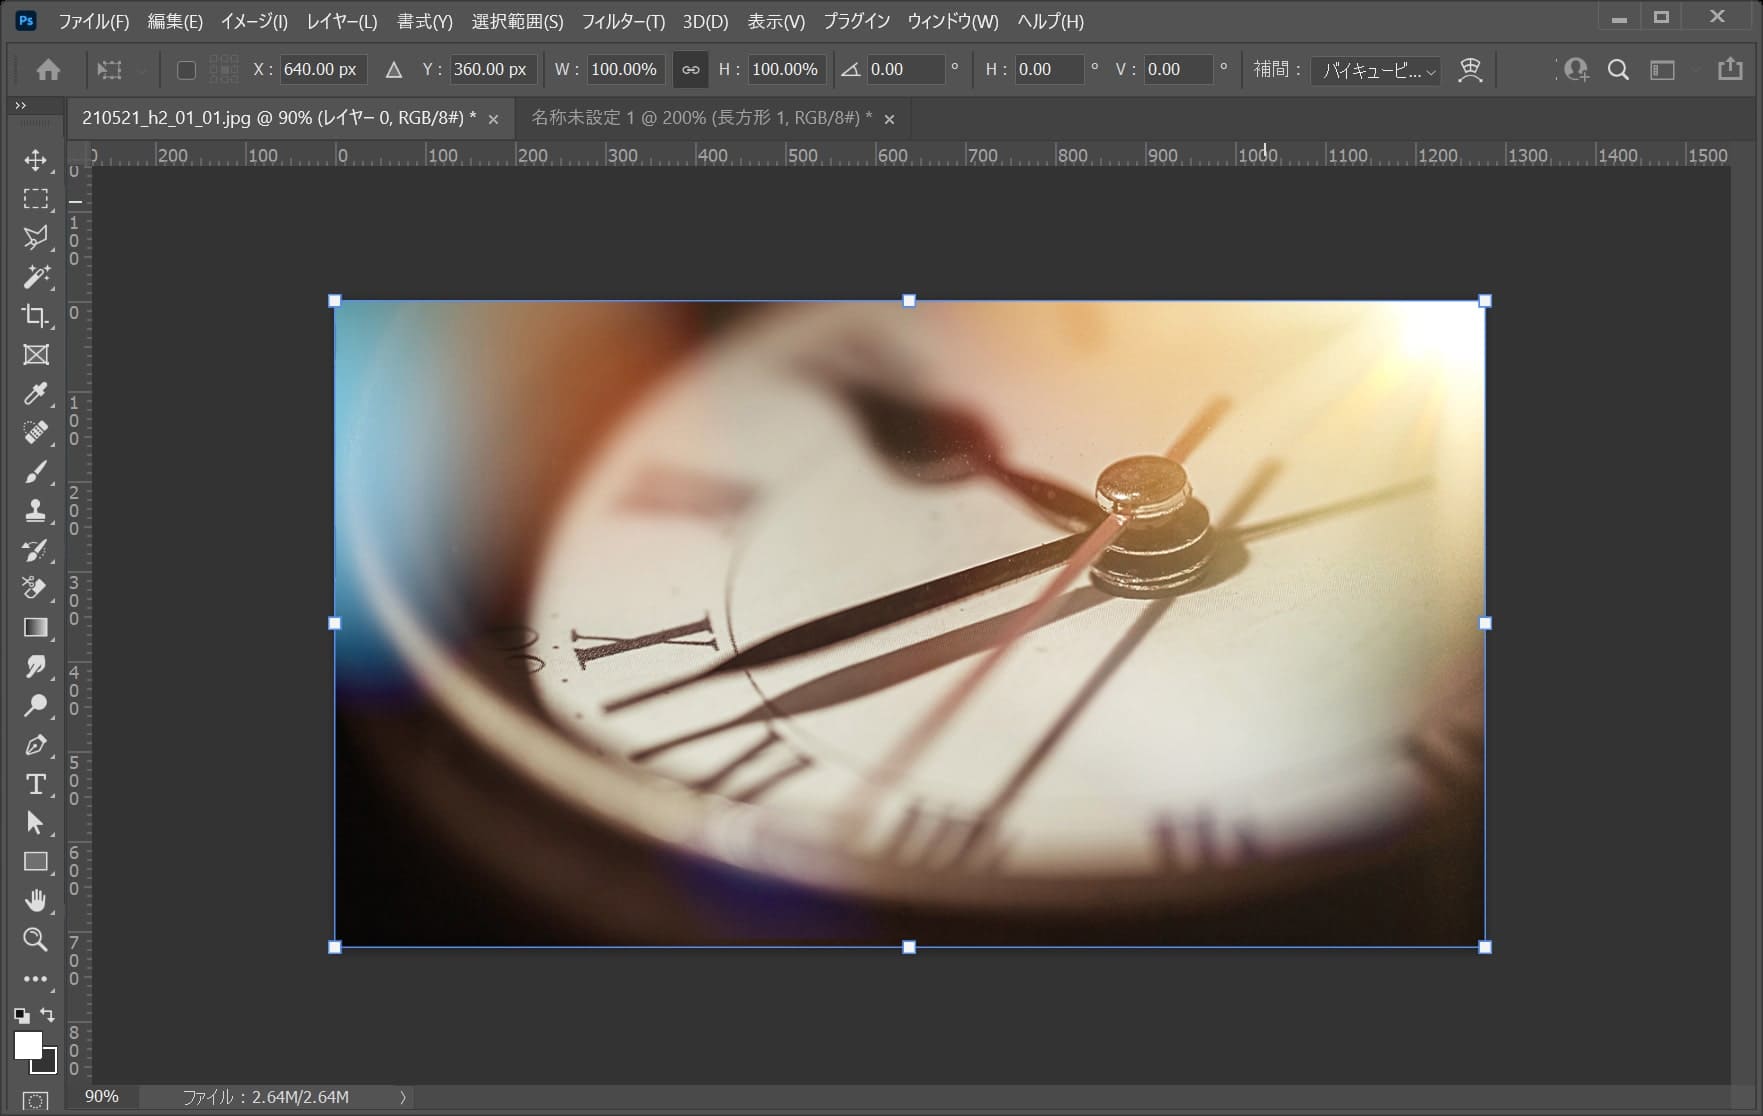
今回はこの画像を使って進めていくよ、画像は何でもいいので用意しておいてね!
画像の開き方が分からない人は下の記事を参考にしてみてね!
Photoshopで画像を反転(カンバスは固定)する流れはこんな感じ。
順番に見て行こう!
まずは背景をレイヤーにするよ!
画像を開いてこの方法で反転させようとすると画像が背景として読み込まれていて、反転ができないので、それを解決するためのレイヤーに変換!
反転する画像が既にレイヤーなら飛ばしてOK!
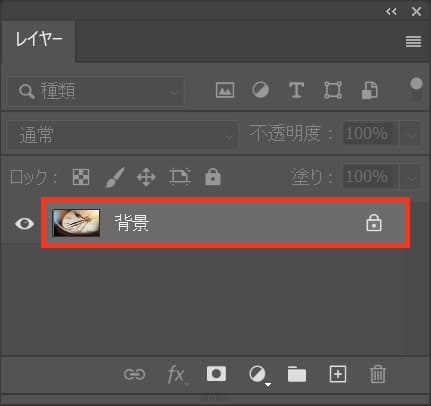
レイヤーの画像をダブルクリック!
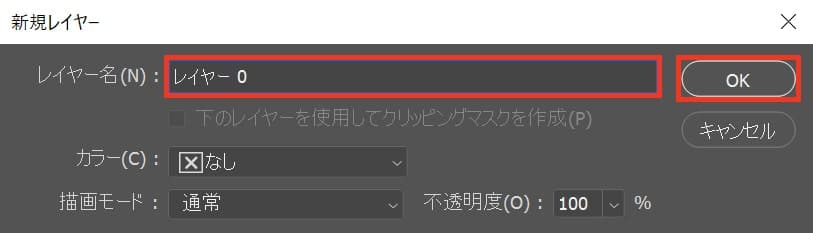
「新規レイヤー」が表示されるので、好きなレイヤー名を入力してOK!
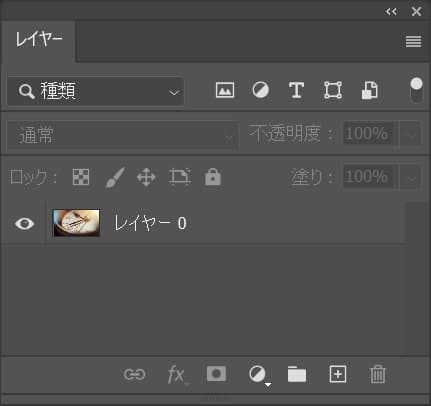
これで背景がレイヤーになったよ!
続いて反転したいレイヤーを選択するよ!
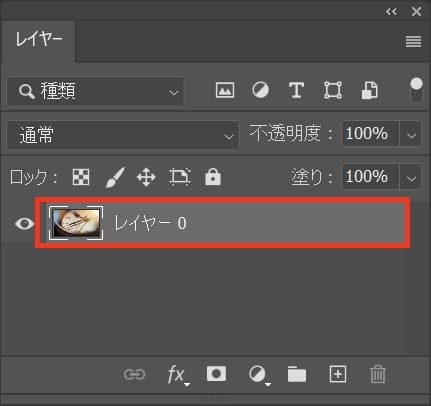
ここではこのレイヤーを選択!
続いて画像を編集モードに切り替えるよ!
Mac=Command+T
Windows=Ctrl+T
レイヤーの周りにバウンディングボックスが表示されるよ!
いよいよ反転するよ!
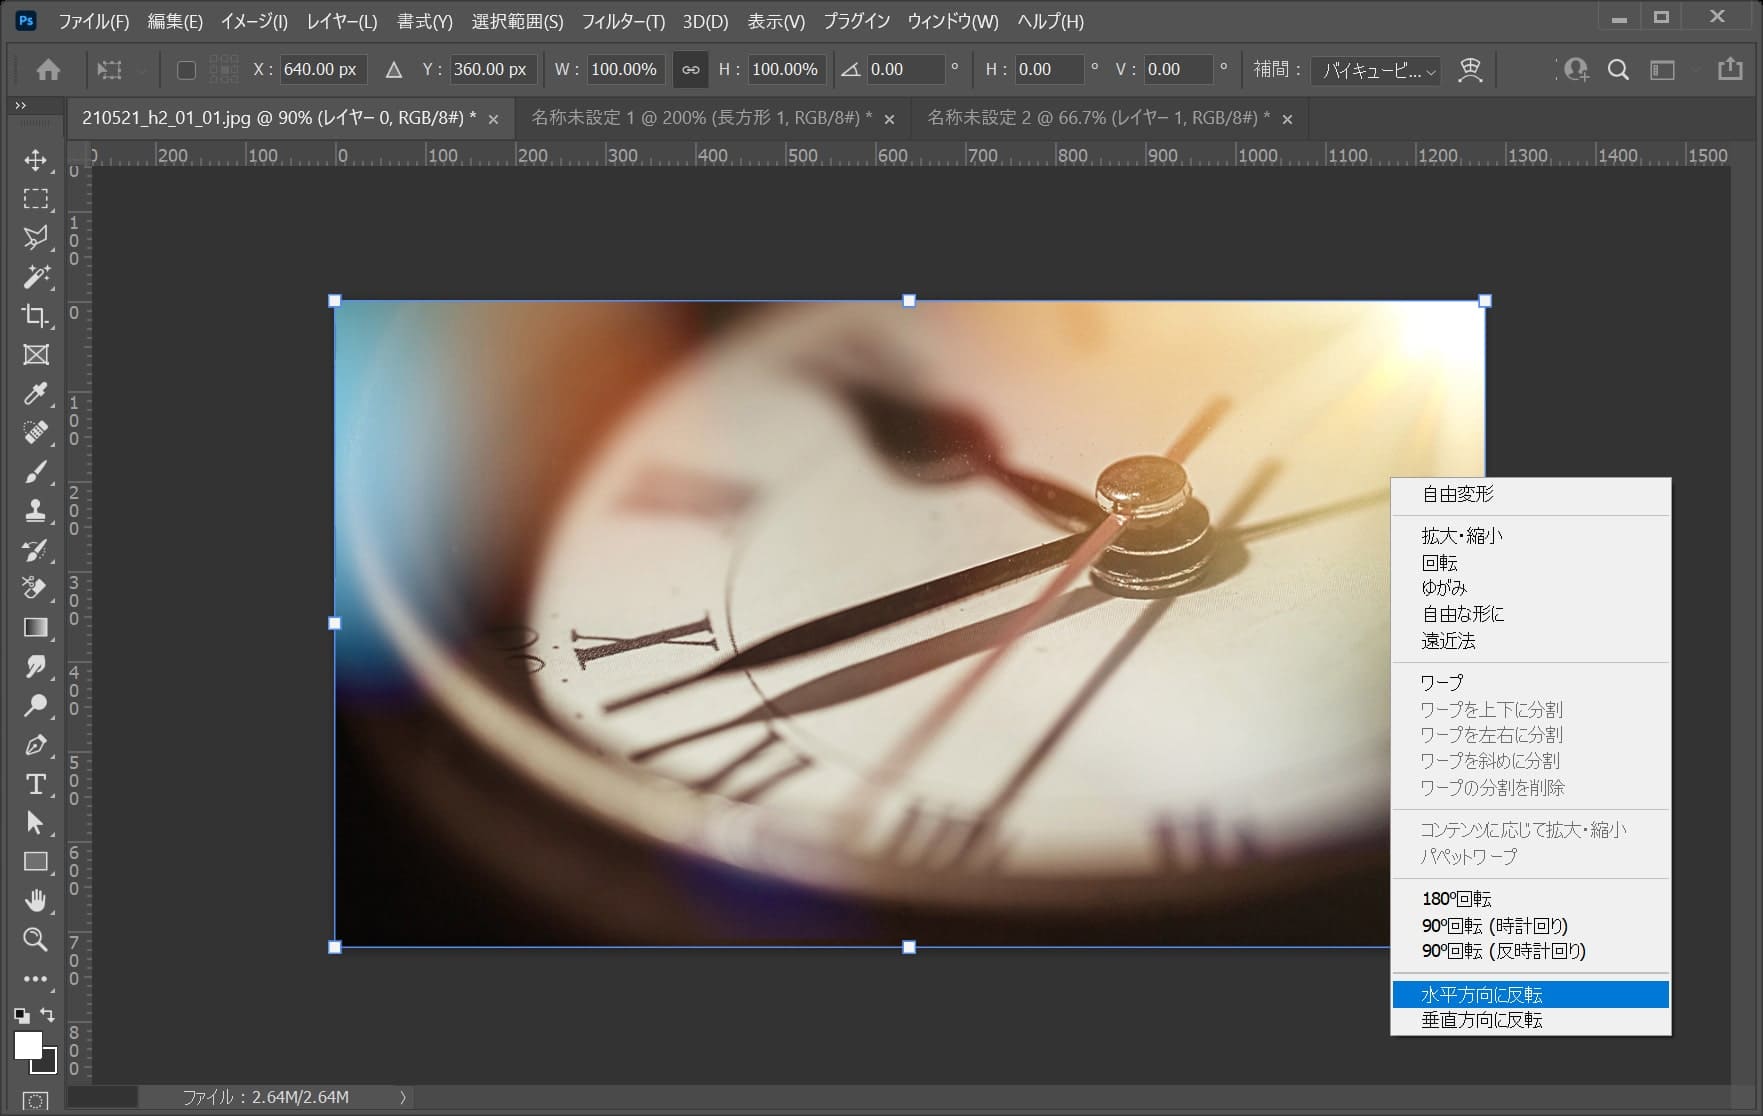
画像の上で右クリックをして「水平方向に反転」を選択!
最後に変更の確定!
変更することを確定させるよ!
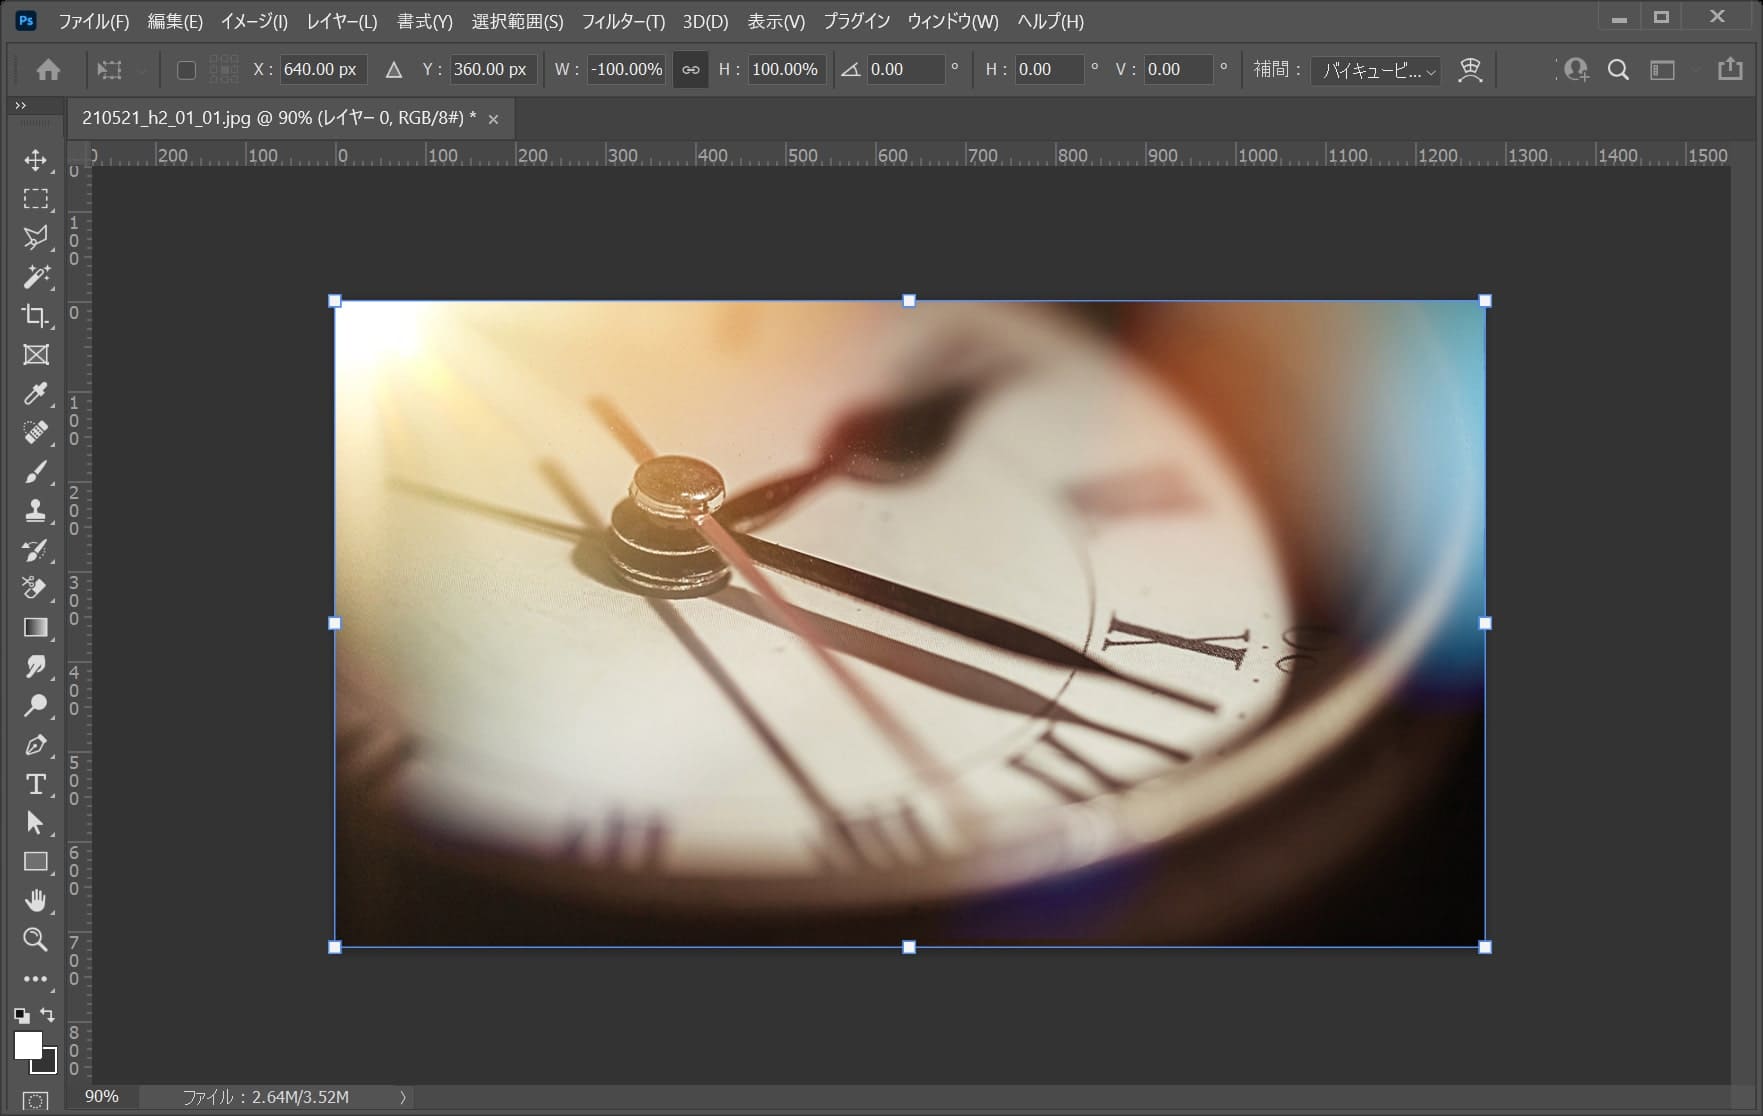
反転ができたら、Enter!
Enter

これで反転完了!
この反転方法はカンバスは固定されて画像だけ反転するよ!
左右反転のショートカットはデフォルトではないよ!
ないけど、自分で作れるから作り方を紹介するよ!
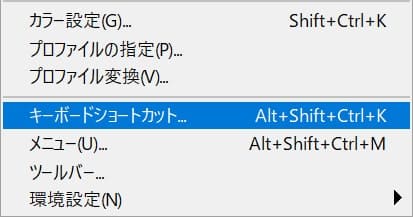
メニューバーの「編集」から「キーボードショートカット」を選択!
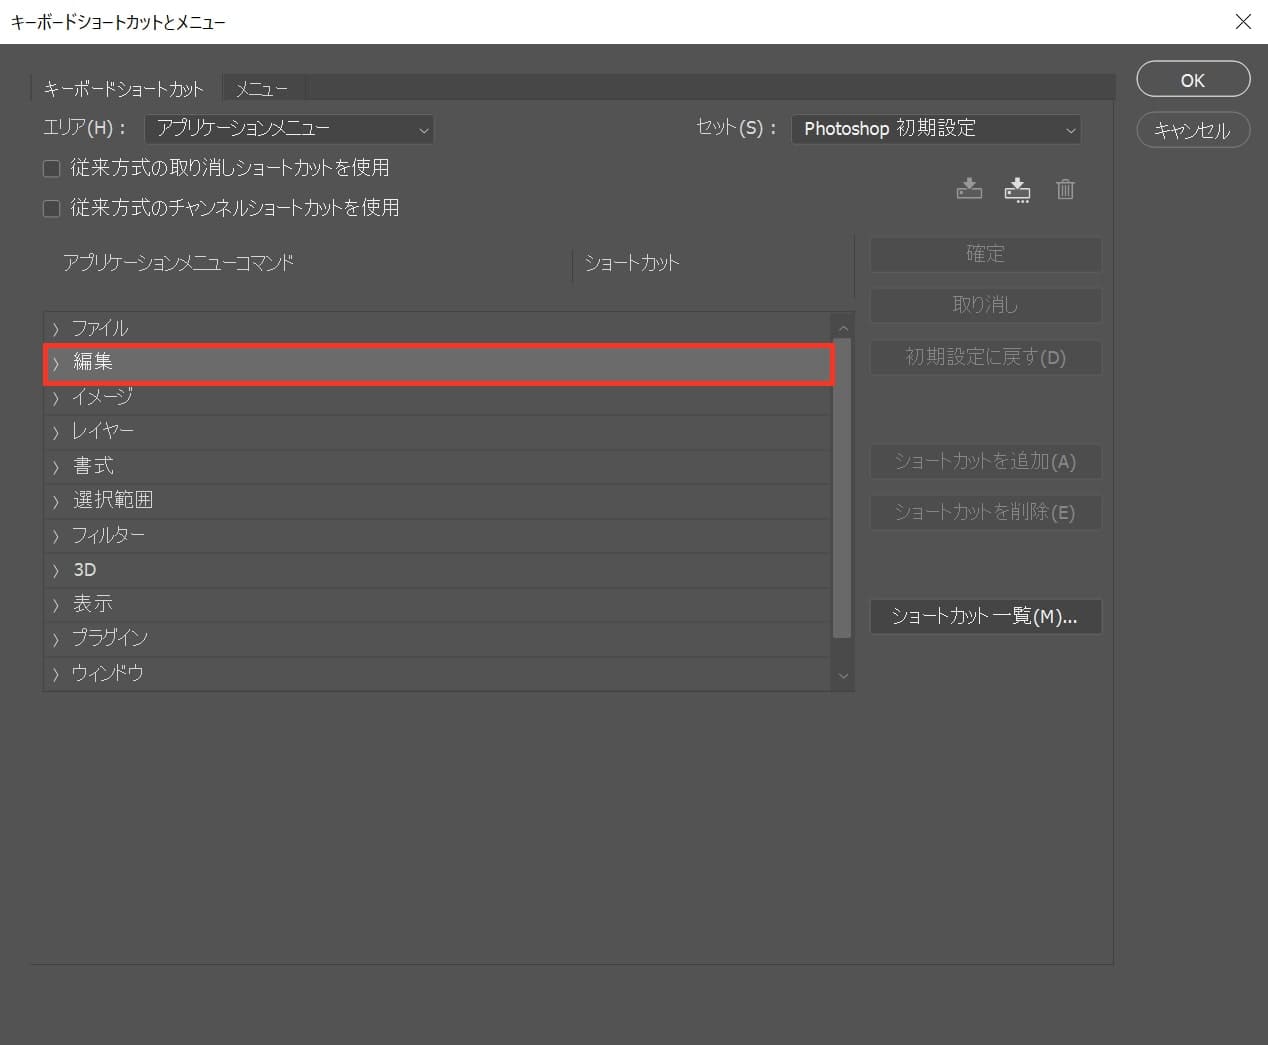
編集をダブルクリック!

「水平方向に反転」を選択!
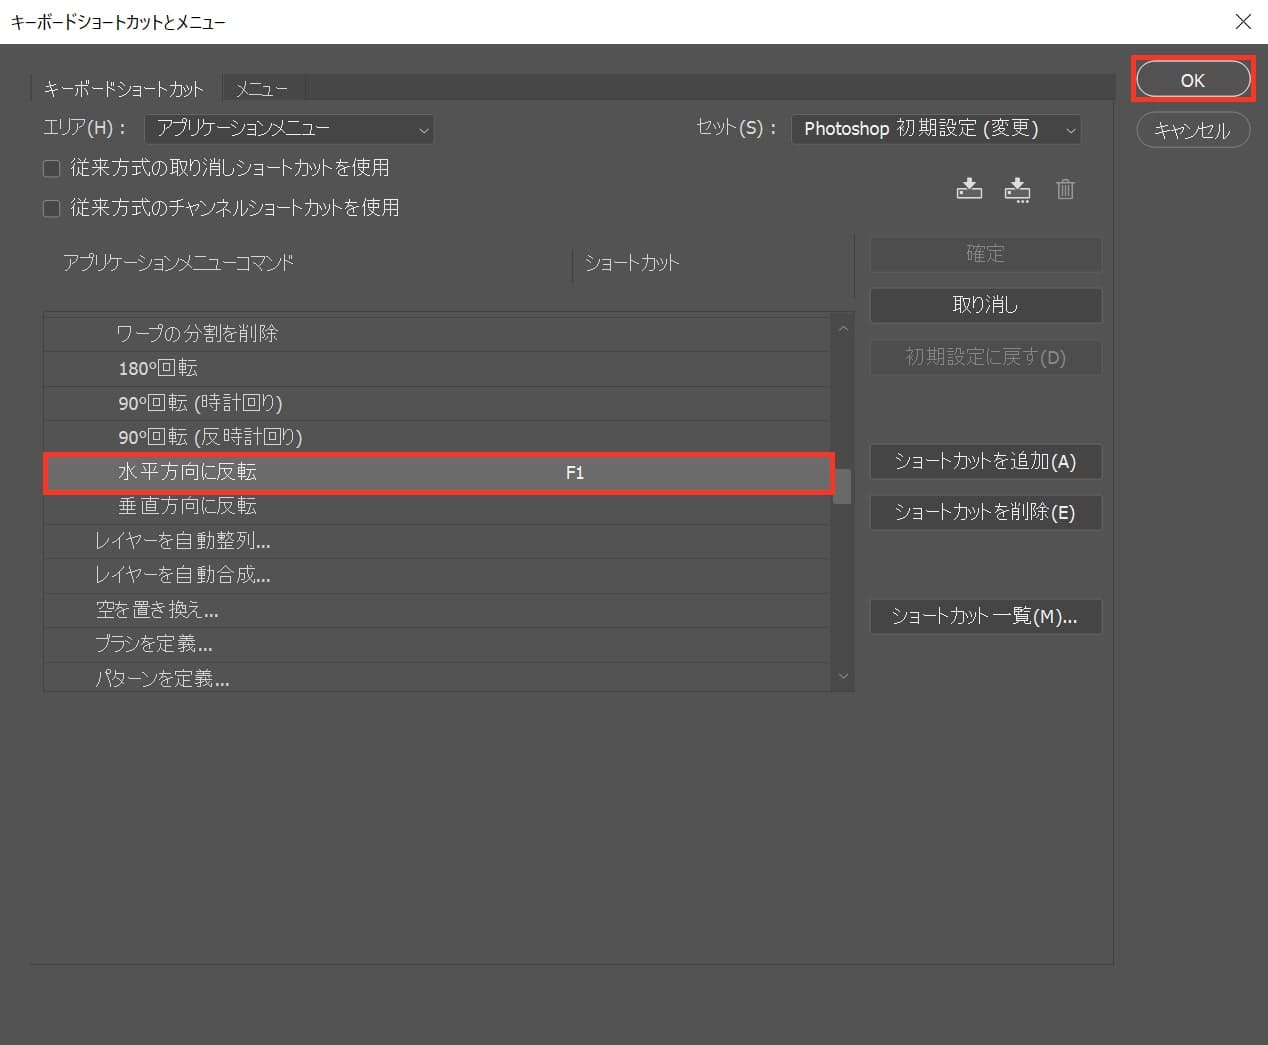
割り当てたいショートカットキーを押してね!
ここでは「F1」に設定!
Fキーは他のショートカットと被らないからおすすめ!
無料LINE登録で『知らないと損するPhotoshopショートカット表』プレゼント!
※本キャンペーンは予告なく変更または終了する場合がございます